
Setting up and installing a wireless to Ethernet bridge can be very straightforward.
Because most of our pre-packaged point-to-point links are sold pre-configured, the installation is quick and painless. Running the Ethernet cable up to the roof is typically the most time-intensive part of the installation. If you are lucky enough to have a crew on hand, then the installation can be achieved in less than an hour per antenna for a normal residential or open warehouse type of install. If you are running Ethernet up an elevator shaft, it might take some more time.
For pre-packaged Wireless to Ethernet bridge kits, like the GNS-1163AC, GNS-1153AC, or the faster GNS-1155AC, installation is a matter of opening the box, setting up the mounting arms, and screwing the brackets to your pole or wall. You point each antenna at one another, connect the included POE injector, and see how much speed you can get.
Once the antennas are connected, you can start tweaking alignment, changing channel width, increasing or decreasing transmit power, and adjusting the operating channel to maximize the link’s potential.
The above-mentioned wireless bridge packages come with external LEDs. We use those for general alignment, or troubleshooting, then log into the web GUI for advanced configuration.

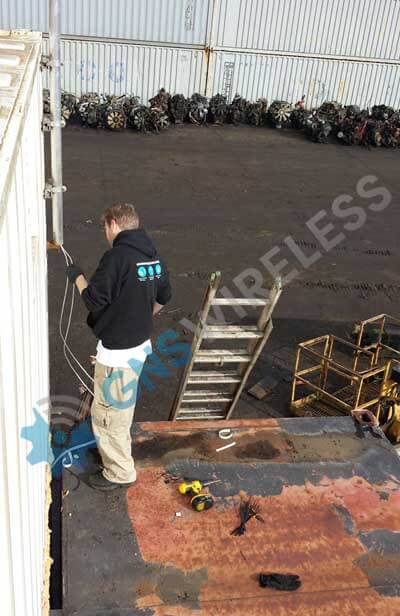
The PTP backhauls come with weatherproof grommets that allow the Ethernet cable to feed through into the enclosure. We like to add another bead of silicone to the bottom of that connector, but depending on where the antenna is mounted, this is not always required. The above image illustrates the size of a Mimosa B5 antenna installation. Each antenna is small enough to be carried up the ladder, and installed by one tech.
If you have a need to connect two locations and need a recommendation on a cheap solution or a high throughput backhaul, give us a call. We will be happy to help. Contact GNS Wireless directly at (516) 214-0321.